Who doesn't like bread that is crispy on the outside and warm and chewy on the inside? Wouldn't it be awesome if you could make it at home? Yeah you can! Stay in your PJs, bake some bread, and devour it with some garlic EVOO, aged balsamic vinegar, or your favorite Compound Butter!! Don't forget the wine, friends, and a night of laughs and shenanigans.

This recipe is dedicated to Judy. You got this friend!! 
Prep Time: 5 minutes

Photo Credit: The Recipe Sherpa
This recipe was inspired by Jenny Can Cook
Prep Time: 5 minutes
Rise Time: 3 hours + 35 minutes
Cook Time: 30 minutes + 15 minutes
Oven Temp: 450 degrees F
**You will need a dutch oven to achieve the perfect crust** I recommend a 5.5 qt dutch oven. https://amzn.to/30LNmKx
Ingredients: The ingredients are grouped to make the cooking process easier for you! Check out the "Ingredients 411" for storing and the shelf life of certain products. Links are provided for quick access to purchase certain ingredients.
Dry - Mix and set aside
- All Purpose Flour - 3 cups (Aerate the flour. See "Tips" for details)
- Salt - 1 tsp
- Sugar - 2 tsp
- Dry Active Yeast - 2 tsp https://amzn.to/2BBYSPK
- Hot Water - 1.5 cups (102 degrees F)
Step 1.
- In a large mixing bowl, mix the dry ingredients then pour in water.
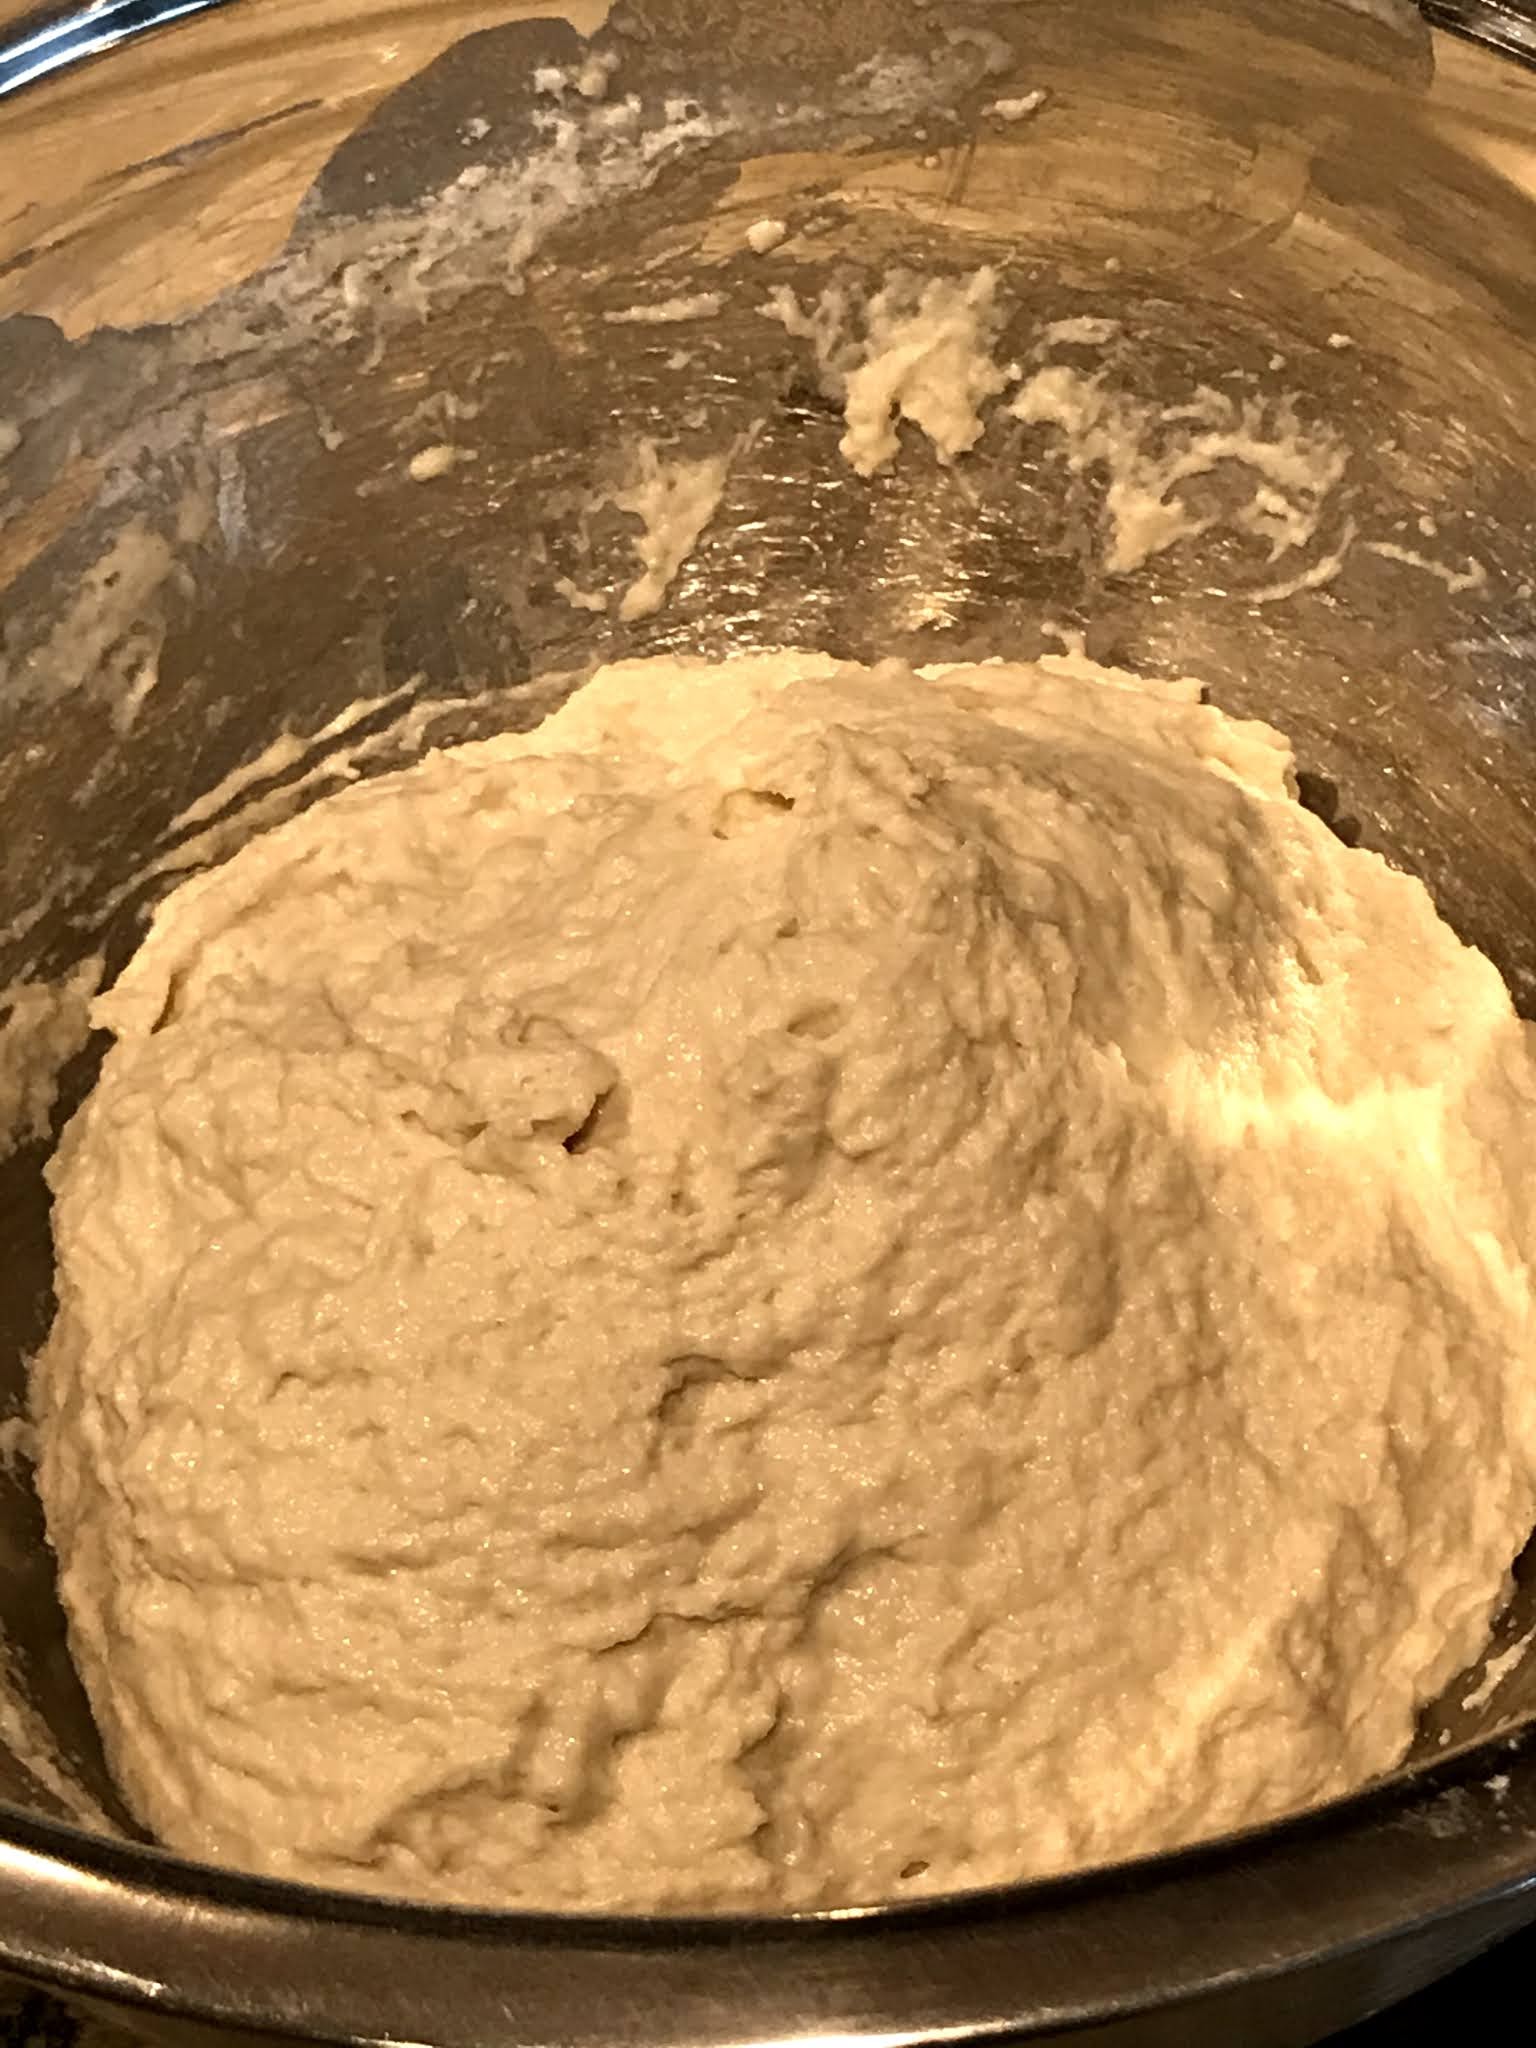
- Mix with spatula. This is a wet, sticky dough. Do not hand knead. Do not use a mixer.
- Scrape the sides of the bowl to form the dough into a goopy ball. You do not have to transfer this into a greased bowl. Cover tightly and store in a draft-less place to rise for 3 hours.

- Remove dough and place on a floured surface. Dust flour on top and lightly shape the dough into a ball by slightly "pinching" the bottom of the dough with your palms. This is not kneading. The goal is to just form a ball.
- Line a large bowl with parchment paper and dust some flour on the parchment paper. Place the ball of dough into bowl. Cover and rise for another 35 minutes.
- While waiting for the 2nd rise, place an empty Dutch Oven with an oven safe lid, into your oven. Preheat to 450 F. Place an empty baking sheet on the bottom rack. The baking sheet will prevent the bottom of your bread from burning or getting too tough.

- Once the the dough is done with the 2nd rise, place the dough in the Dutch Oven WITH the parchment paper. Just lift the parchment paper and place it into the Dutch oven. Cover with the lid and bake for 30 minutes. Be careful and remember your Dutch Oven is scalding hot!


- After 30 minutes, remove the lid and slip out the parchment paper. It should slide right out. At this stage, the bread will be a pale yellow. Continue to bake the bread, uncovered, for another 15-20 minutes to form a golden, crispy crust.


Tips
- Parchment Paper - Crumple the parchment paper in to a tight ball before you line the bowl. Un-crumple the paper and line the bowl. This will allow the paper to form in the bowl better.
- Cracking - Make a light slit in the shape of an "X" on top of the dough before placing in the oven to control cracking. It will still crack but it will be pretty :) You don't have to do this. My picture is a loaf that was not slit prior to baking.
- Rising location - Use your microwave to store the dough for rising. It is an excellent draft-less place.
- Flour - Aerating the flour matters! Use a spoon to scoop flour into the measuring cup. This lightens the flour to ensure your measurement for this recipe is accurate. Do not tap or pack your cup. If you scoop your measuring cup into the flour directly, you will end up with dense, packed, flour that will result in your using too much flour for this recipe.
Comments
Post a Comment